How to Prevent Tile Lippage in a Custom Home
Learn how to prevent tile lippage through substrate prep, layout, lighting review, and careful installation for refined interiors that endure for years.
Eternity Builders · October 10, 2026
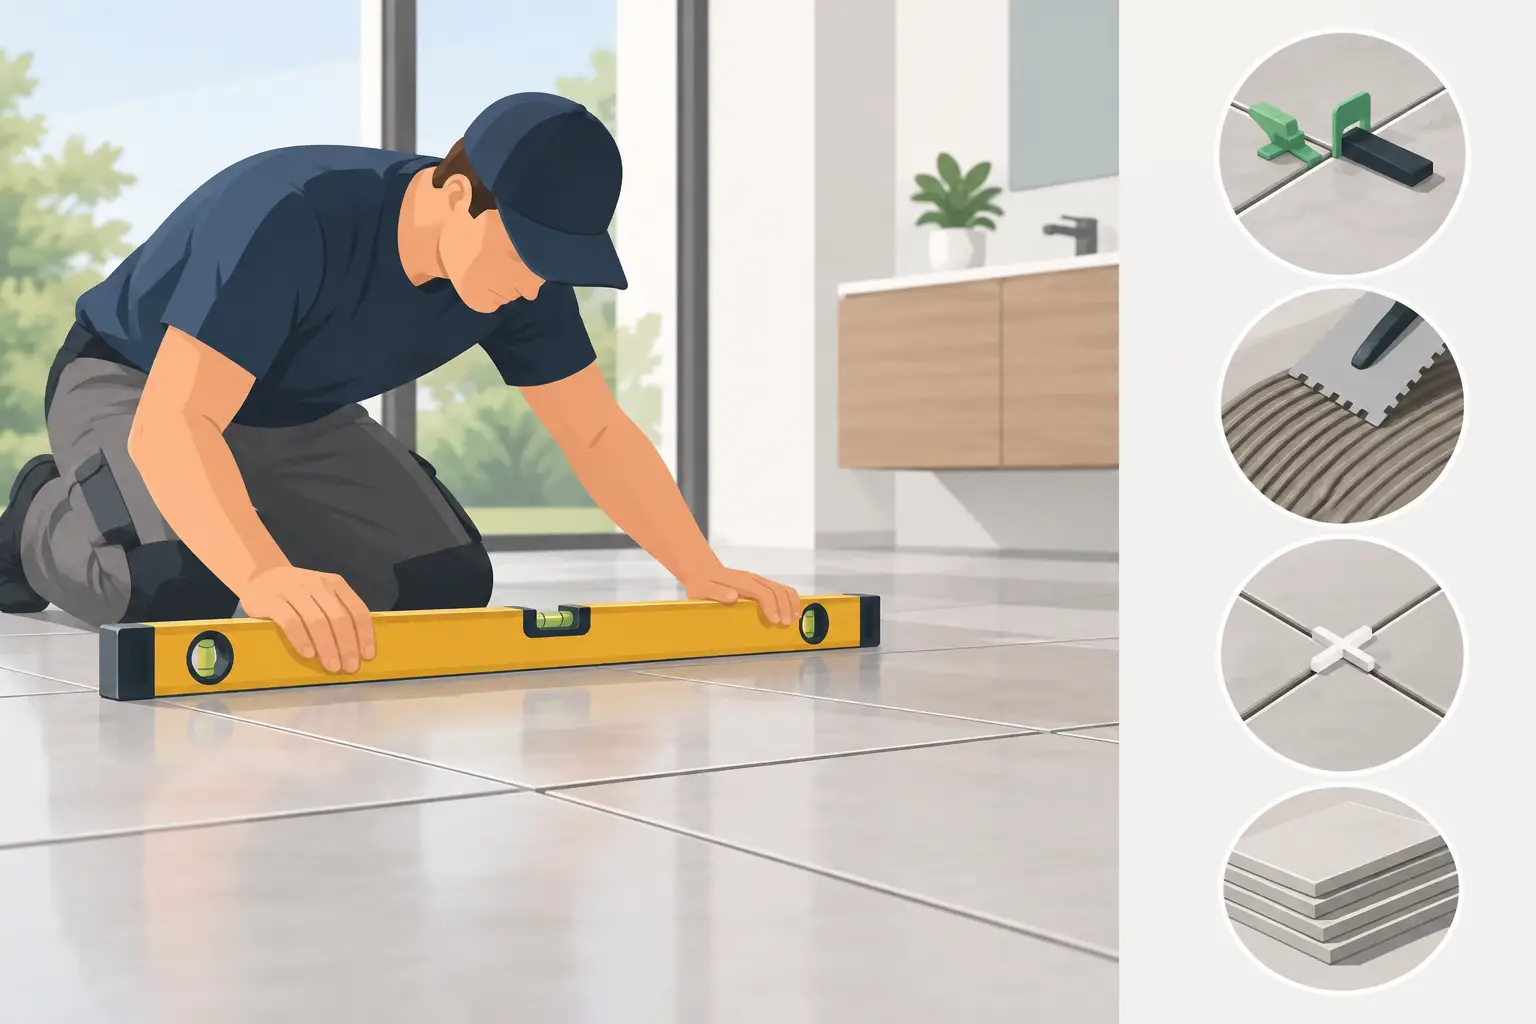
A tile floor can be perfectly selected, beautifully proportioned, and still feel wrong underfoot if adjoining edges sit at different heights. To prevent tile lippage, the work has to begin well before the first piece is set. It is a matter of planning the surface beneath the tile, respecting the material’s natural variation, and holding the installation to the same standard as the cabinetry, millwork, and stone surrounding it.
In a custom residence, tile is rarely a background finish. Large-format porcelain may carry through a great room and gallery hall. Honed natural stone may establish the tone of a primary bath. A patterned tile may frame a kitchen range or define an outdoor living area. Each application places the setting work in direct view, often under strong natural light and carefully placed decorative lighting. Small inconsistencies that might pass unnoticed in a secondary space become apparent in these rooms.
What Tile Lippage Really Means
Lippage is the difference in elevation between the edges of adjacent tiles. It is not the same as an uneven grout joint, although the two can occur together. A floor with lippage can catch a bare foot, cast irregular shadows, or create a visible ridge when light grazes across the surface.
Some degree of variation can be inherent in tile itself, particularly with certain natural stones, handmade materials, textured finishes, and large-format products. Long plank-shaped tiles can also have a slight crown from the manufacturing process. The goal is not to promise an impossibly flat surface from a material that has natural character. The goal is to understand the material, set realistic tolerances, and avoid preventable height differences caused by poor preparation or rushed installation.
A glossy tile, a tight grout joint, and low-angle light create the most unforgiving combination. This is why a floor can look acceptable during installation yet reveal problems once morning light enters the room or pendant fixtures are switched on at night.
Prevent Tile Lippage Before Tile Arrives
The most consequential decision is often made before the tile installer is on site: whether the substrate has been evaluated and prepared for the selected material. Tile follows the plane beneath it. Mortar can accommodate limited irregularities, but it is not a substitute for correcting a floor or wall that is out of plane.
For floors, the installation team should verify flatness across the room, not simply check a few isolated areas. Large-format tile requires a flatter setting surface than smaller tile because each piece bridges more area. A minor dip that disappears beneath a small mosaic can leave a long porcelain tile unsupported at its center or high at one corner.
Walls deserve the same attention. A shower wall that is not plumb and flat may force the installer to compensate from row to row. The result can be drifting joints, uneven corners, or tile edges that project beyond their neighbors. In a primary bath, these details are especially visible at niches, bench returns, linear drains, and transitions into slab shower surrounds.
Preparation may involve patching low areas, grinding high spots, using an appropriate leveling compound, or adjusting wall substrates before waterproofing and tile setting proceed. The specific remedy depends on the assembly and material. What matters is that the surface is measured, discussed, and corrected early, when the solution is direct rather than concealed behind expensive finish work.
Coordinate the Tile Thickness With Adjacent Finishes
A refined interior depends on transitions as much as open expanses of tile. Tile thickness, underlayment, mortar-bed build-up, wood flooring, stone thresholds, and door clearances should be considered together. A beautiful tile installation can still feel unresolved if it creates an awkward height change at a bedroom doorway or meets a wood floor without a deliberate transition.
This coordination also protects the visual hierarchy of the room. A flush transition may be appropriate in one condition, while a defined stone saddle or metal profile may be the better answer in another. The choice should be intentional and compatible with the home’s architectural language, not improvised after finishes have arrived.
Layout Is Part of Lippage Control
Tile layout is often discussed in terms of pattern, centering, and cut sizes. It also affects lippage. This is particularly true with plank tile. Many long tiles have a modest bow, which means a traditional 50 percent running bond can place the highest point of one tile beside the lowest point of the next. That arrangement makes edge variation more noticeable.
An offset of one-third, or another pattern approved for the product, often produces a cleaner result. The manufacturer’s recommendations should guide this decision, especially for oversized porcelain and rectified tile. A mockup is valuable when the design includes a distinctive pattern, narrow grout joints, or strong directional light. It gives the owner, designer, and construction team an opportunity to assess the actual material rather than relying on a showroom board.
Layout should also be established in relation to permanent visual anchors: fireplace openings, kitchen islands, exterior door frames, vanities, and major sightlines. A room can be technically flat yet look unsettled if sliver cuts collect at a focal wall or joints fail to align with an adjacent finish transition.
Material Selection Changes the Installation Approach
Not every tile should be treated alike. Rectified porcelain is cut to a more consistent edge after firing and can support a more precise appearance, but its crisp lines make variation easier to see. Natural stone can vary in thickness, density, and face texture, requiring more individual attention during setting. Handmade tile may intentionally carry edge variation and undulation that are central to its appeal.
Large-format pieces reduce the number of grout joints, creating a calmer visual field. They also demand more from the substrate and installer. The larger the tile, the less forgiving the installation becomes. Oversized slab products raise the stakes further because wall flatness, handling, coverage, and alignment must all be managed with exceptional care.
Grout width is another design decision with practical consequences. Very narrow joints can look elegant, but they leave less visual tolerance for dimensional variation. A slightly wider joint may better suit a handmade tile or natural stone, allowing the material’s character to read as intentional rather than uneven. The right joint is the one that respects both the tile and the room.
Setting Methods That Support a Flat Finish
Once the substrate and layout are resolved, execution becomes a matter of disciplined technique. The installer should use the mortar, trowel size, and setting method appropriate to the tile type, size, and application. Proper mortar coverage is essential, particularly at corners and edges, where unsupported areas can contribute to movement or cracking later.
Directional troweling helps mortar ridges collapse when the tile is bedded. Back-buttering may be required for larger tile or where additional coverage is needed. Each piece should be checked as it is placed, rather than assuming a leveling system will correct every condition.
Tile leveling clips and wedges can be useful tools. They help hold adjacent faces in plane while the mortar cures, particularly on large-format work. They do not flatten an uneven slab, correct a bowed tile, or replace skilled setting practices. Used well, they support a prepared installation. Used as a shortcut, they can hide a problem only until the surface is viewed in finished lighting.
A crew should also work cleanly and avoid allowing mortar to build up in joints. Hardened mortar can interfere with proper grouting and make narrow joints appear inconsistent. In detailed spaces, the installer’s willingness to lift and reset a piece that does not sit correctly is often the difference between acceptable work and a finish that feels permanent.
Review Tile Under the Lighting It Will Live With
Lighting should not be an afterthought in tile quality review. Sunlight from large windows, under-cabinet lighting, recessed fixtures, and decorative pendants all reveal surfaces differently. A floor viewed from standing height in diffuse daylight may look very different when seen from an adjacent seating area at sunset.
Before grout is installed, a careful walk-through can identify pieces that require adjustment. The review should include the major entry views and the angles from which the room will actually be used. In bathrooms, inspect shower walls from the doorway and vanity area. In kitchens, view the backsplash with task lighting on. In long halls, look across the plane rather than only down at it.
This is also the right time to distinguish between a legitimate installation concern and the natural variation of the chosen material. A honed stone with softened edges will not read like polished rectified porcelain, nor should it. Clear expectations preserve the design intent while ensuring that visible defects are addressed before they become part of the finished home.
Treat Tile as a Coordinated Finish, Not a Trade Isolated From the Rest
Tile touches nearly every finished surface around it: plumbing trim, cabinets, thresholds, fireplaces, shower glass, baseboards, and exterior openings. The best results come from coordination between these elements, not from treating tile as a standalone scope completed after every other decision has been made.
For a residence intended to serve a family for decades, these close-range details matter. They are noticed when children cross a bath floor barefoot, when guests gather around a kitchen island, and when evening light moves across a quiet hallway. A well-set tile surface does not call attention to itself. It gives the room a settled, composed quality and lets the architecture carry the moment.