Preventing Tile Layout Mistakes in Custom Homes
Preventing tile layout mistakes starts before installation. Learn how sightlines, grout joints, and dry layouts protect a refined finish for years to come.
Eternity Builders · November 5, 2026
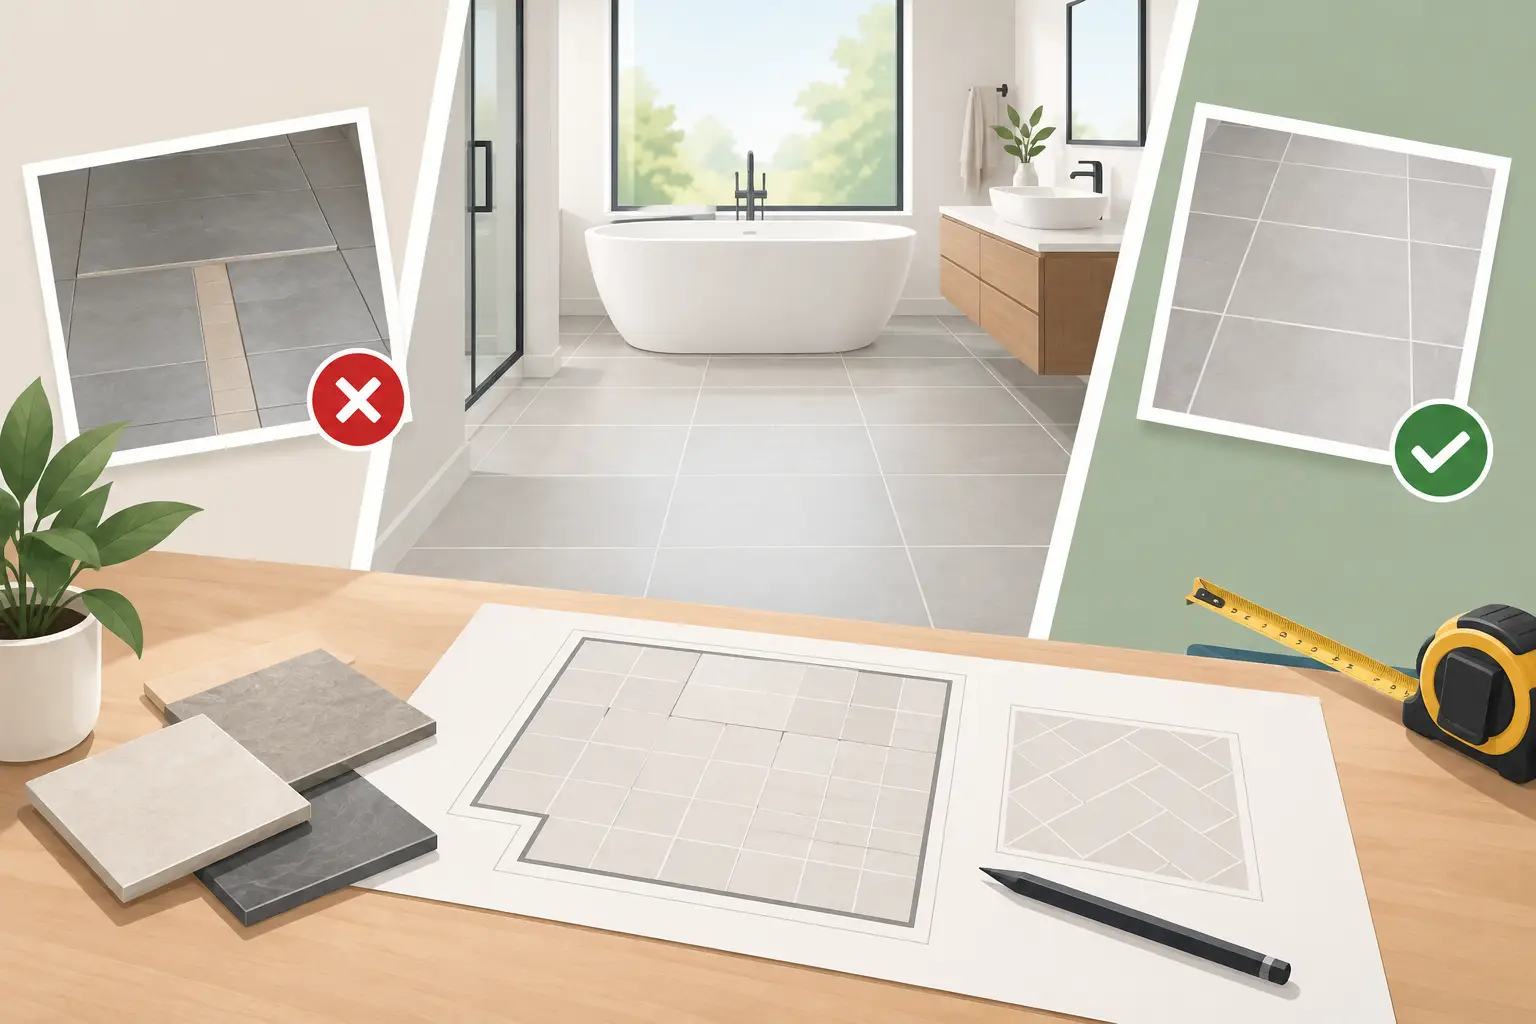
A tile selection can look flawless in a showroom and still feel wrong once it occupies an entire bath, kitchen, or great room. Preventing tile layout mistakes is less about choosing an expensive material than deciding, well before installation, exactly where the pattern begins, ends, turns, and meets the architecture.
In a custom residence, tile is not a surface applied at the end of construction. It is part of the visual order of the room. A centered shower niche, a clean threshold, and grout joints that land intentionally at a vanity or fireplace can make the finish feel permanent. Slivers at the perimeter, interrupted patterns, and misaligned transitions tend to draw the eye every day.
The difference is disciplined planning among the homeowner, designer, builder, tile installer, cabinet team, and other trades whose work meets that finish.
Start With the Room, Not the Tile Sample
A small sample does not reveal how a tile will behave across a large floor or a tall shower wall. Before a pattern is selected, the team should understand the room's true dimensions, the locations of doors and windows, the placement of cabinets and plumbing fixtures, and which sightlines matter most when someone enters.
In a primary bath, for example, the first view may be through the entry door toward the tub wall. In a kitchen, the eye may travel from the island to the range wall. In a living area, a fireplace may establish the central axis. Those architectural moments should guide the layout. Centering a pattern mechanically on the room can be the wrong decision if the room itself is not visually symmetrical.
This is especially relevant in estate-scale homes, where open rooms, long halls, and broad expanses of stone make minor inconsistencies more visible. A grout joint that drifts out of alignment with a cabinet reveal may not be noticed on a drawing. It will be noticed under afternoon light across a finished floor.
Preventing Tile Layout Mistakes Before Installation
The most consequential layout decisions happen before thinset is mixed. A dry layout, whether completed physically on site or carefully mapped from verified field measurements, allows the team to test the pattern against the room rather than relying on nominal tile dimensions.
Tile sizes are often described in rounded terms. A tile sold as 12 by 24 inches may not measure precisely 12 by 24, and dimensional variation can occur between material lots. Grout-joint width also changes the module. These details affect where cuts land, so a layout based only on a product label can produce a disappointing surprise at the wall.
The right starting point depends on the room. A centered field may be appropriate for a framed shower wall or a fireplace surround. In another setting, it may be better to prioritize full tiles along the most visible wall and place larger, balanced cuts beneath a floating vanity or inside a closet. There is no universal rule that every room must be centered. There is a requirement that the decision look deliberate.
A layout review should resolve more than the field tile. It should identify the direction of installation, the location of control or movement joints where required, the termination at each opening, and the relationship of the tile to drains, niches, benches, and fixture trim. Waiting until the installer reaches these conditions shifts a design decision to the field, where options are naturally narrower.
Let Sightlines Establish the Priority
Not every cut carries equal visual weight. A narrow piece hidden behind a freestanding tub or beneath a toe kick may be acceptable. The same narrow piece at the entry to a shower, beside a fireplace, or along an uninterrupted exterior door opening can undermine an otherwise beautiful installation.
Establish the primary sightlines early. Stand at the bath entry, at the kitchen approach, and in the hall leading toward a tiled room. Consider what will be visible when doors are open and when they are closed. In a shower, inspect both the view from outside the enclosure and the view from within it. The shower niche, valve wall, and curb are often seen together, so their joints should feel coordinated rather than accidental.
This does not always mean every grout line must align across separate planes. A wall tile may need to respond to a niche, while the floor tile must respond to a centered drain or a doorway. The goal is visual hierarchy. The most prominent surfaces receive the greatest attention, while less visible cuts are managed discreetly.
Grout Joints Are Part of the Design
Grout is not simply the material between tiles. Its width, color, consistency, and alignment create the grid that defines the finish. With large-format tile, a narrow joint can make a space feel calm and continuous, but it also requires a suitable tile, a well-prepared substrate, and precise installation. A wider joint may better accommodate handmade or dimensionally varied tile and can become part of its character.
The relationship between grout lines and adjacent elements matters just as much. On a kitchen backsplash, joints should be considered alongside the centerline of the range, the cabinet layout, electrical openings, and the underside of upper cabinets. On a shower wall, they should be reviewed against niches, sconce locations, glass panels, and fixture centers.
Electrical boxes deserve particular attention. A poorly placed outlet can force a conspicuous notch through a focal tile or disrupt a carefully centered pattern. Coordinating these locations before drywall and tile work preserves more options. The same principle applies to plumbing penetrations, which should not land carelessly across a narrow grout joint or the edge of a small cut tile.
Transitions Need a Clear Decision
A floor transition is one of the most frequently touched and seen details in a home. Tile may meet wood flooring, natural stone, carpet, or another tile selection. Each condition should have a defined material change, elevation relationship, and termination detail before installation begins.
The cleanest transition is often placed at a logical architectural break, such as a doorway, cased opening, or change in room function. In an open plan, the decision is more nuanced. Carrying a floor material continuously can create a composed, expansive feel, while a transition can help distinguish spaces and respond to performance needs. Neither approach is automatically superior.
What should be avoided is a transition that appears to have been placed wherever the installer reached the next full tile. If a line must occur in an open area, its placement should relate to an axis, an island, a beam line, or another architectural reference.
Plan Shower Details as One Composition
Showers concentrate many of the layout issues that become visible under close inspection. They contain multiple planes, slopes, penetrations, niches, corners, benches, curbs, glass, and metal trim. Treating each element independently often leads to joints that almost align but do not quite resolve.
Start by deciding which wall is the focal wall. Then establish how its tile will relate to the niche and plumbing fixtures. Consider whether the niche should align with grout joints, be centered on the wall, or be intentionally sized to accept full tile modules. A niche that is installed without reference to the selected tile may later require thin, awkward pieces around its perimeter.
Shower floors deserve their own review. Smaller mosaic tile can accommodate slope more easily, while larger formats can create a more monolithic appearance in the right application. Drain position, floor slope, and the transition at the curb or entry all influence the choice. The floor and walls do not need to follow the same grid, but the meeting between them should feel controlled.
Coordinate the Work in the Right Sequence
Tile layout cannot be protected through a final walk-through alone. Cabinet dimensions, appliance specifications, plumbing rough-ins, lighting locations, glass measurements, and finished floor elevations all influence the result. Changes in any of these items should trigger a quick review of affected tile conditions.
For an owner-led construction team, this is where accountability becomes tangible. The work is not merely to identify a concern after it appears. It is to bring the relevant decisions together early enough that the solution remains elegant, practical, and buildable.
Homeowners can help by finalizing tile selections with enough time for layout planning, ordering an appropriate quantity from the same material run when possible, and reviewing mockups or field layouts when a room includes a distinctive pattern or focal detail. The goal is not to burden every decision with unnecessary complexity. It is to reserve attention for the details that will define the daily experience of the home.
A well-laid tile installation rarely calls attention to the effort behind it. It simply makes the room feel settled: the pattern belongs to the architecture, transitions feel natural underfoot, and every visible edge appears to have been considered before the first piece was set.